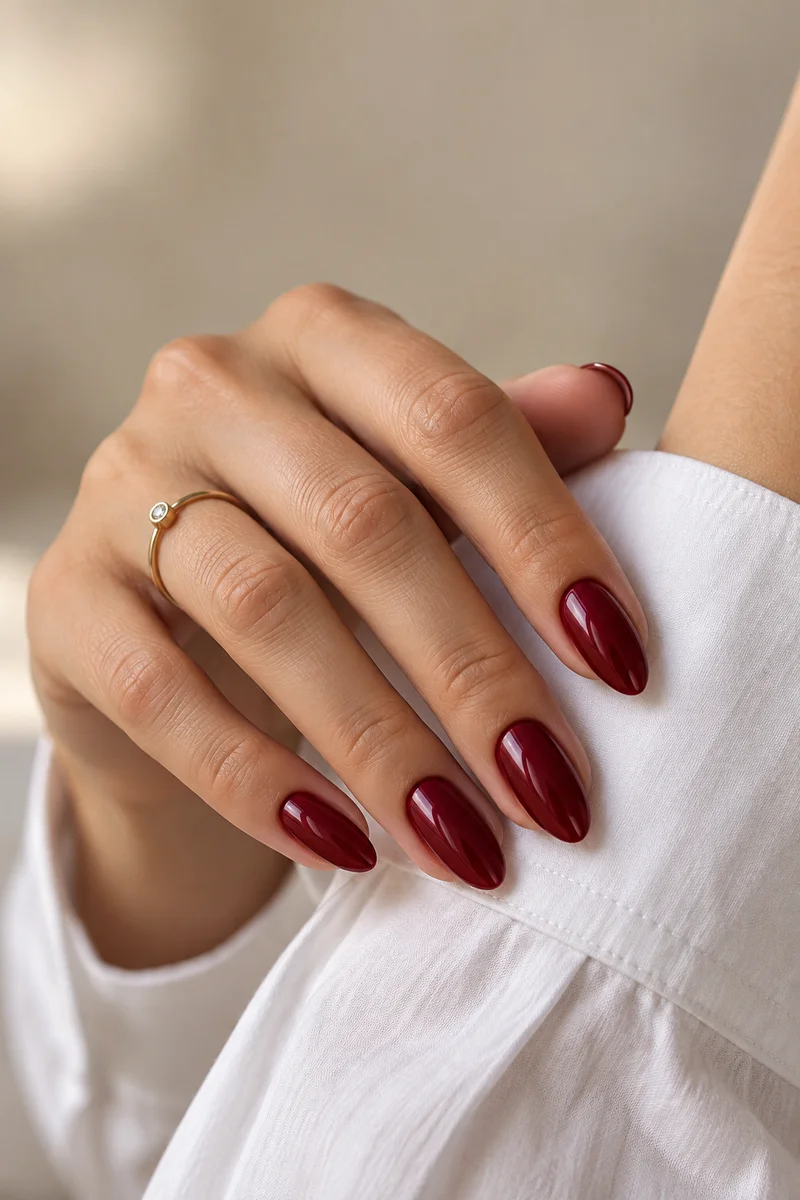
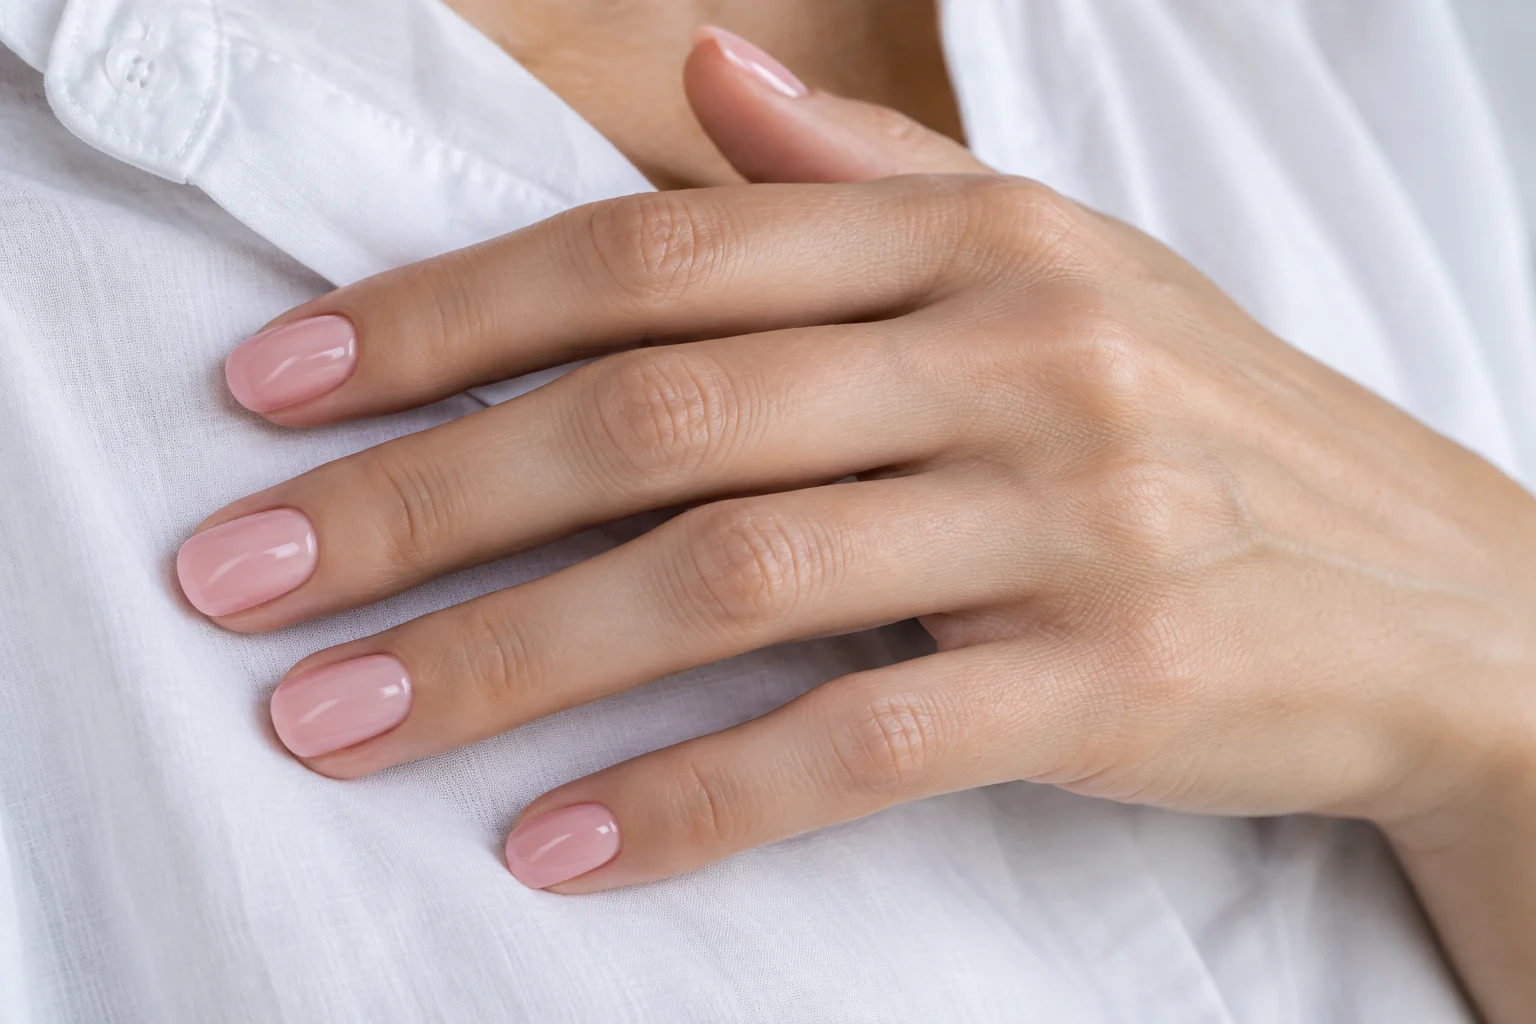
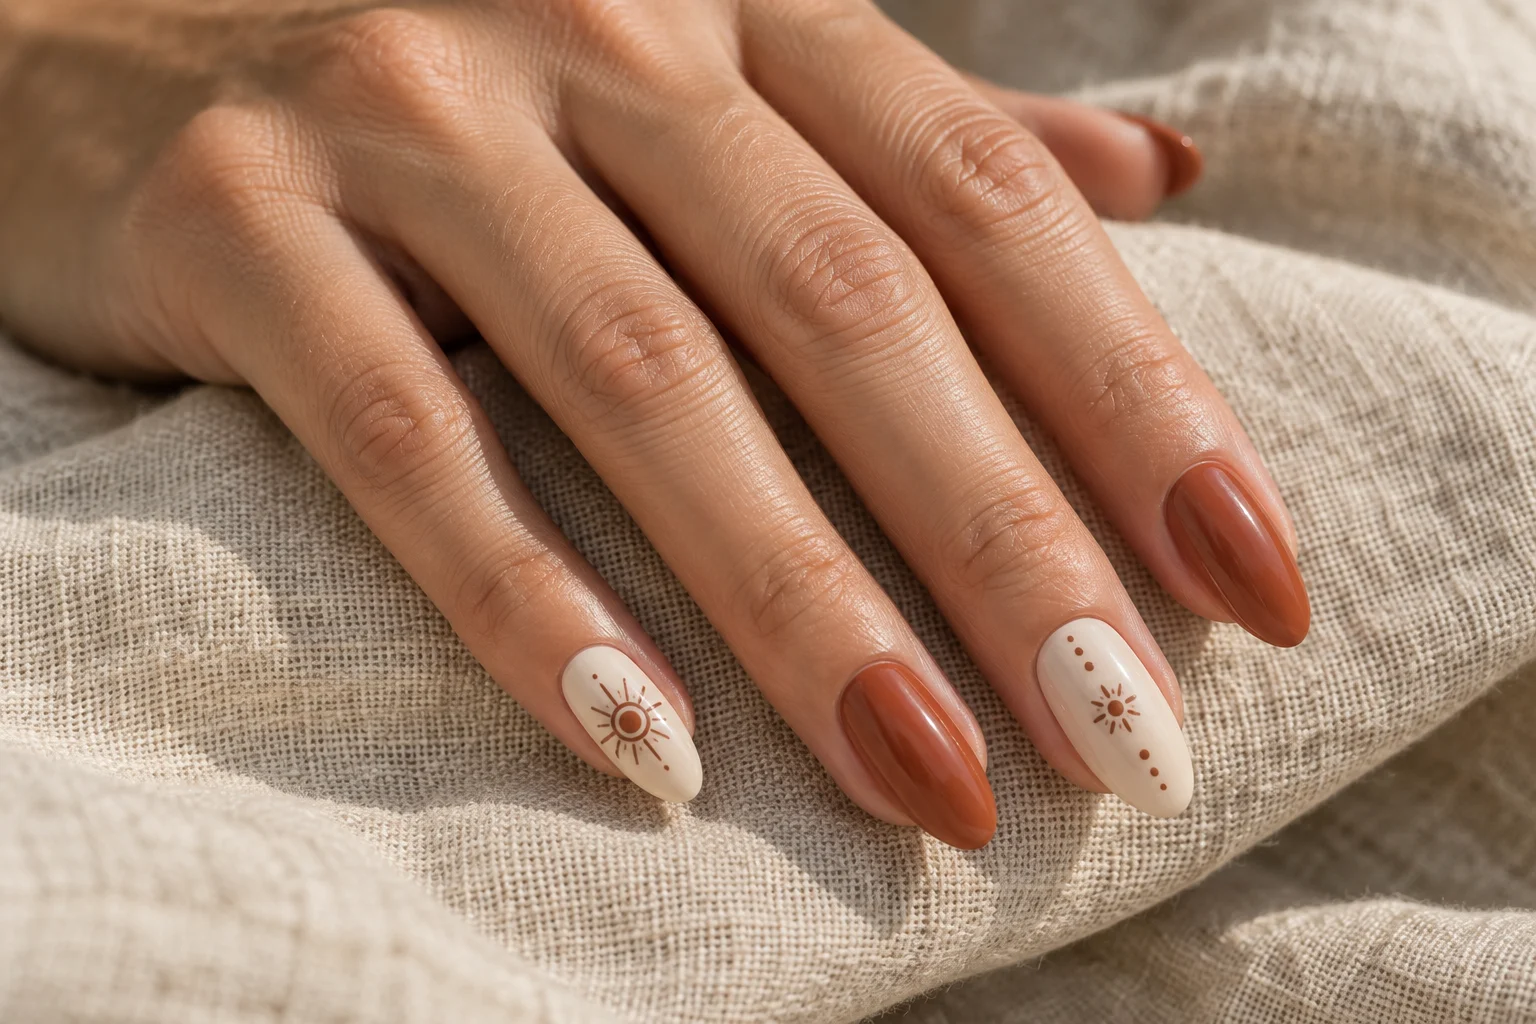
A flash of teal velvet on a short nail. Liquid silver on a sharp point. A peach glow suspended inside deep plum. The same manicure technique can tell a completely different story when you change the outline, length or colours around it. Start with the look that makes you stop scrolling; then use the notes to make it work on your own nails.
These nail designs for different nail shapes pair twelve illustrated looks with specific adjustments for short, medium and long nails. You will also find a wider nail-bed example, colour suggestions and a quick guide to the finishes appearing in 2026 collections. Each image is an original AI concept, created to explain a design rather than document a salon result.
01. Short round nails, a pool of teal light
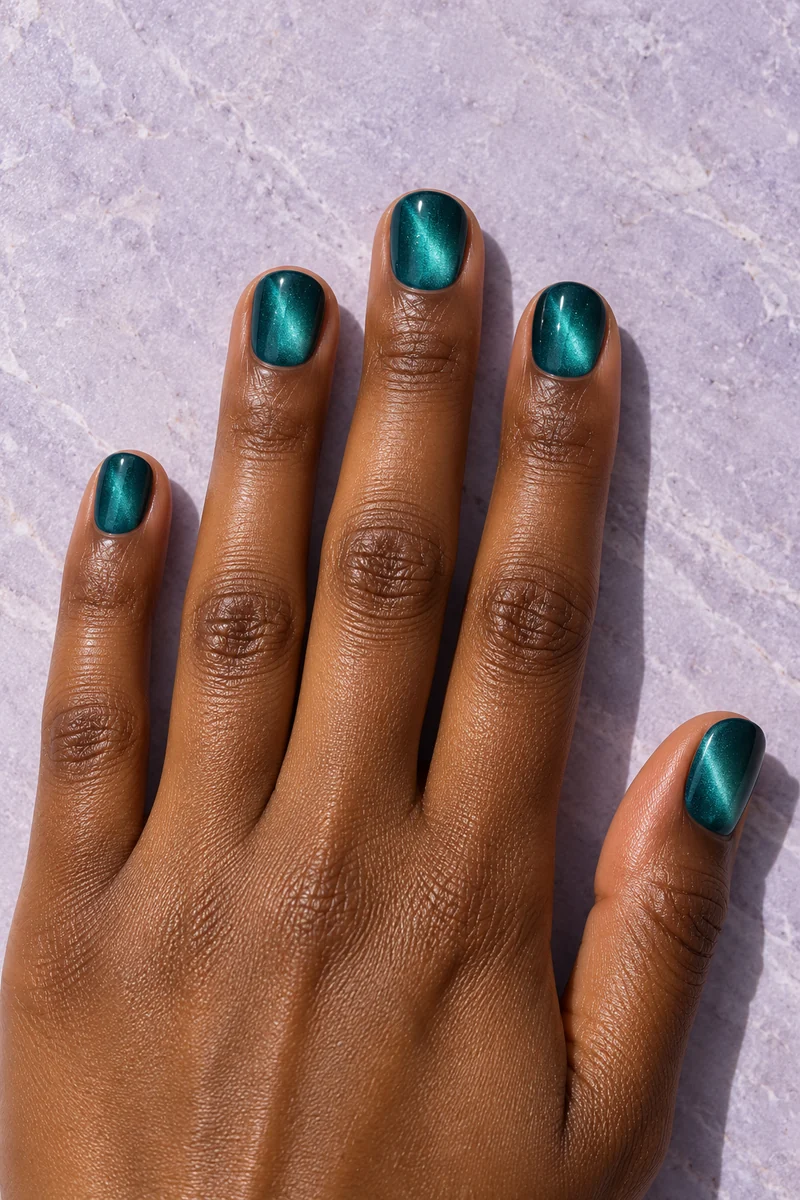
The mood. Jewel-box colour, with the soft depth of velvet. A broad magnetic glow lights up the centre while dark teal remains around the edges. The finish supplies the interest, so this small nail surface does not need a tiny painted scene.
Why this shape works. On a short round nail, a broad glow is easy to read at a glance. A very narrow stripe can also work, but it creates a sharper, more graphic effect. The curved highlight in this concept echoes the rounded edge without adding a separate border.
Colour to try. Teal against the brown skin in this illustration creates a rich jewel contrast. Try emerald if you want more green, or petrol blue for a cooler mood. Compare a swatch beside your own hand in daylight; the shimmer can change the apparent colour.
Ask for. Short rounded teal magnetic nails, with a diffused velvet glow and a dark visible perimeter. Compare the next look if you prefer a defined beam of light.
02. Long almond nails, an amethyst light beam
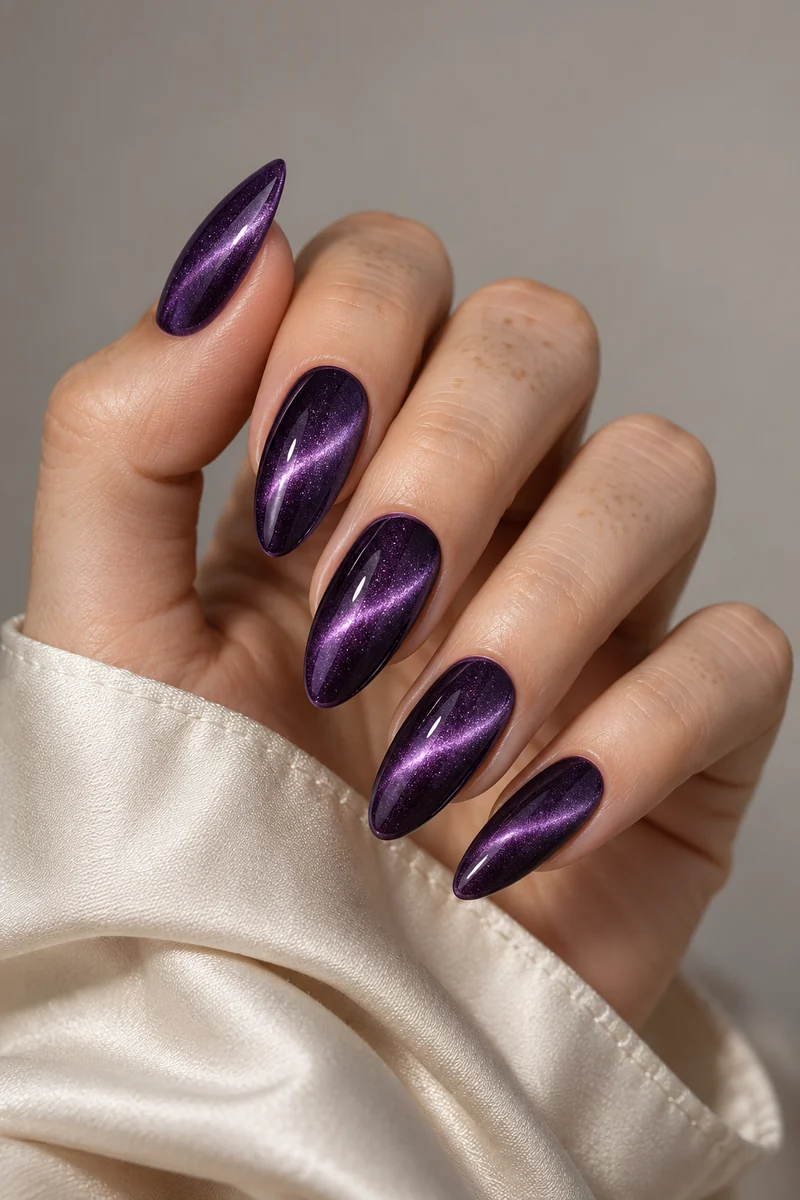
The mood. Purple after dark. Here the magnetic effect is concentrated into a diagonal band rather than spread into a broad haze. The dark plum base gives the lavender light somewhere to go; it is the contrast between those areas that makes the design feel dimensional.
Why this shape works. The extra length gives the light band a longer path, while the tapered tip makes the silhouette more pointed than the short teal example. This is a stronger choice if you want the movement to be the first thing you notice.
Make it shorter. Keep the plum base, but ask to see a broader band on a short oval or round swatch. The technique is not reserved for long nails. Length changes how much of the pattern you can see, not whether you can wear it.
Colour to try. Violet gives a cool, dramatic contrast against the fair skin shown. For a warmer version, try copper light over chocolate. Ask for a magnetic finish, not a painted lavender stripe.
03. Short square nails, electric-blue chrome
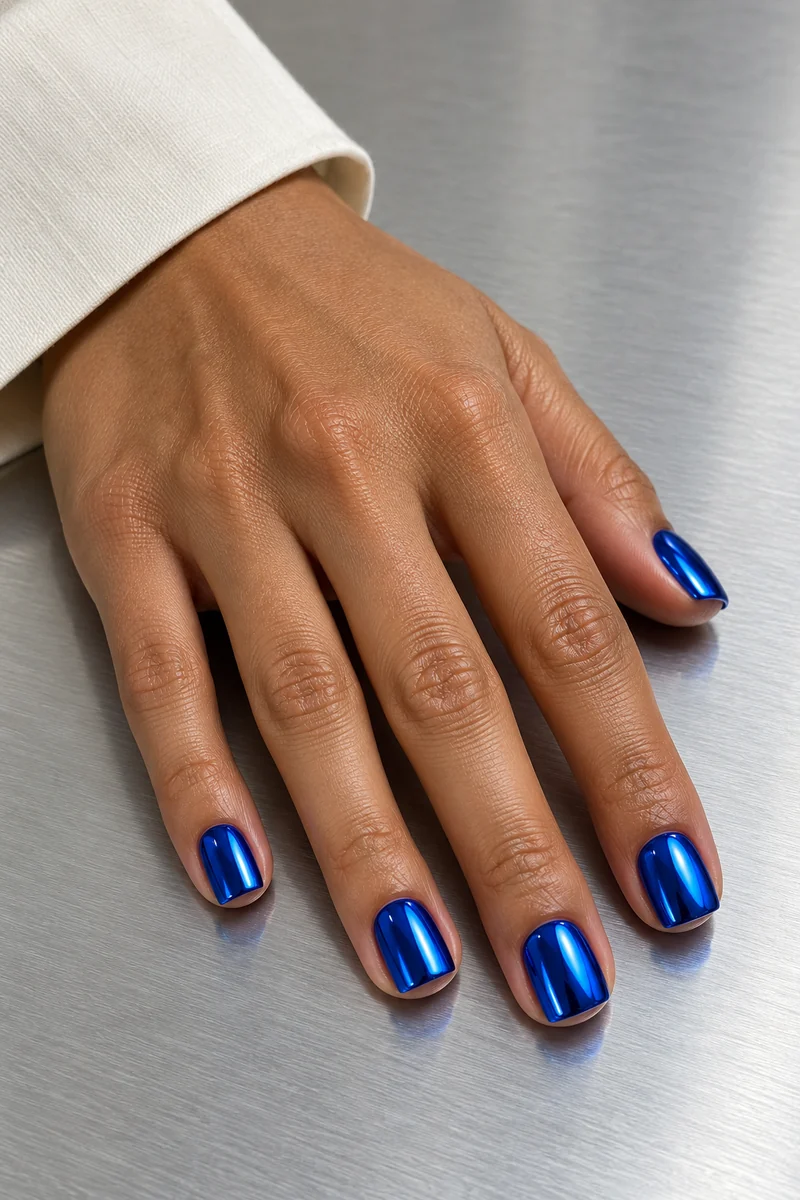
The mood. A tiny piece of polished blue metal on every fingertip. This is a mirror-like surface with strong reflections, quite different from the softly scattered light of velvet. The colour stays saturated even without a motif.
Why this shape works. The straight square edge gives the blue a crisp finish. Short length keeps the silhouette compact, while the reflection still has enough room to be striking. A rounded version would soften the outline without changing the essential design.
Colour to try. Cobalt provides a cool contrast against the warm-looking skin in this concept. That contrast is an aesthetic choice, not a mismatch. If you want a closer colour relationship, try bronze or copper chrome; if you want more contrast, try icy blue.
Ask for. A short soft-square shape, a smooth cobalt mirror finish and no glitter texture. Look at a finished sample under ordinary light as well as the salon lamp.
04. Stiletto nails, sculptural liquid silver
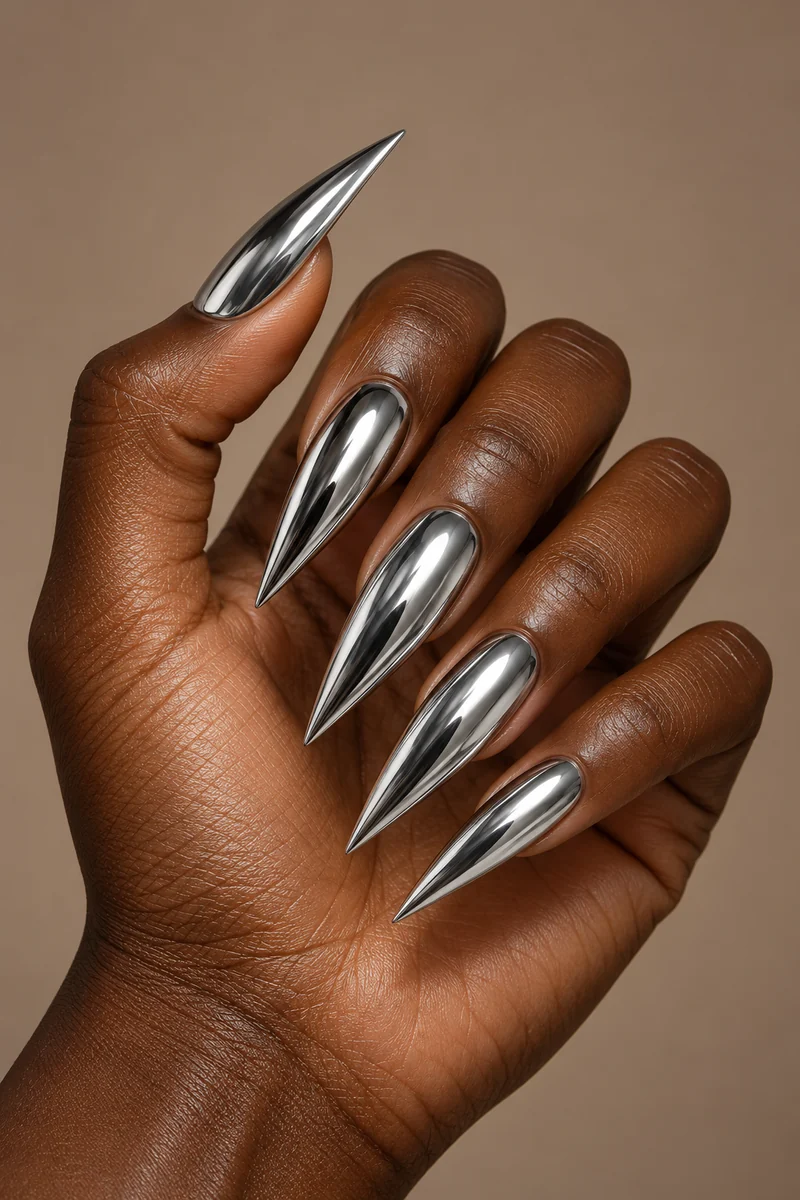
The mood. Silver jewellery you can wear on your fingertips. Long points turn the uninterrupted chrome surface into something sculptural. There is already plenty to look at in the alternating bright and dark reflections.
Why this shape works. Stiletto ends in a distinct point, whereas almond has a softer tapered finish. With silver chrome, that difference is immediately visible. This version puts the silhouette first; an almond version would feel less angular.
Make it yours. Decide on the length you actually want before choosing this reference. The same silver can be worn on short square nails for a much more compact result. Adding a detailed pattern would compete with the strong reflections, so start with the finish alone.
Colour to try. Silver gives a bright metallic contrast against the deep skin shown. Gold or rose-gold changes the temperature of the look; neither is automatically better for a particular skin depth.
05. Oval nails, a coral-and-peach glow
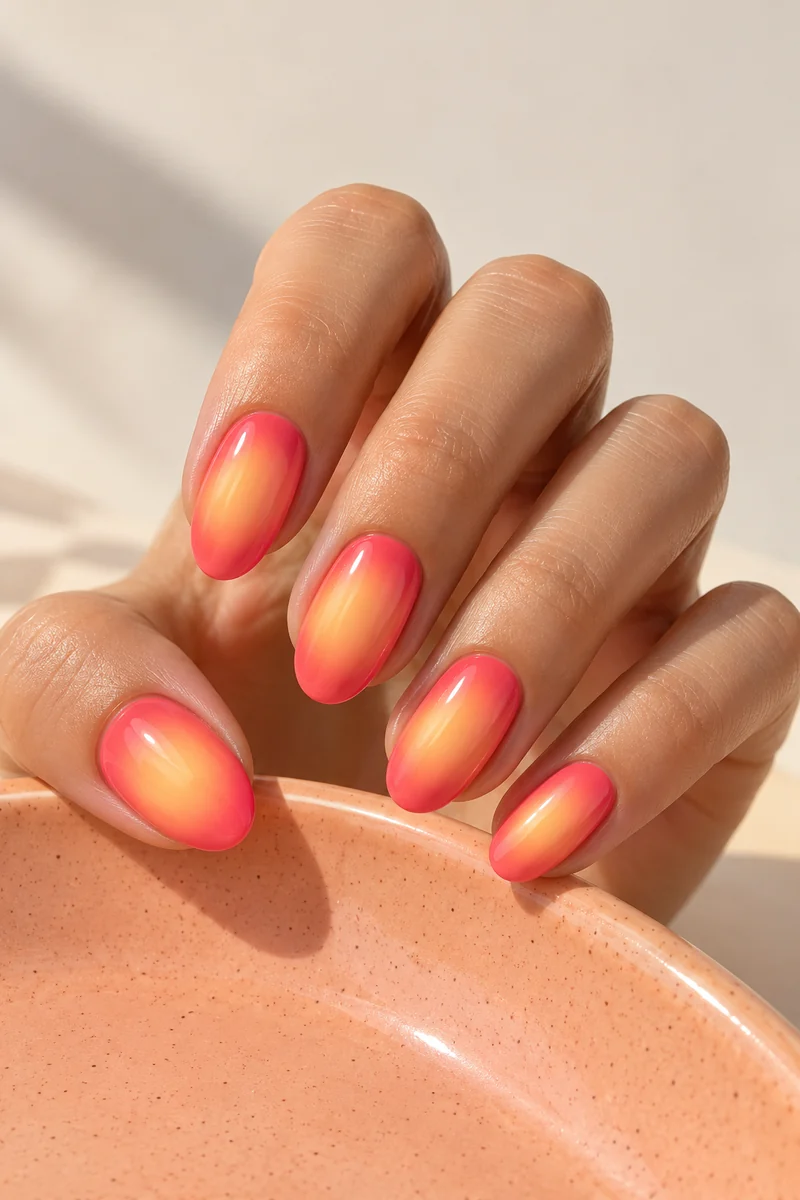
The mood. A sunset captured in a sweet-shaped oval. Aura colour radiates from a soft centre into a contrasting edge. Here the peach-yellow glow and coral border stay distinct enough to read even on a medium-length nail.
Why this shape works. A rounded aura centre repeats the soft oval outline. The nail has room for both the glow and its surrounding colour. If the centre expands to cover nearly everything, you lose the frame that makes the aura visible.
Make it shorter. Reduce the centre rather than squeezing several colours into the same space. On a small oval, two colours with a clear light–dark difference can be more legible than a very subtle three-colour blend.
Colour to try. This peach-and-coral pairing feels warm beside the skin shown. For a cooler interpretation, keep the same layout and use raspberry with a lavender centre. Ask for a diffused central glow, not a tip-to-cuticle gradient.
06. Coffin nails, plum edges and an apricot centre
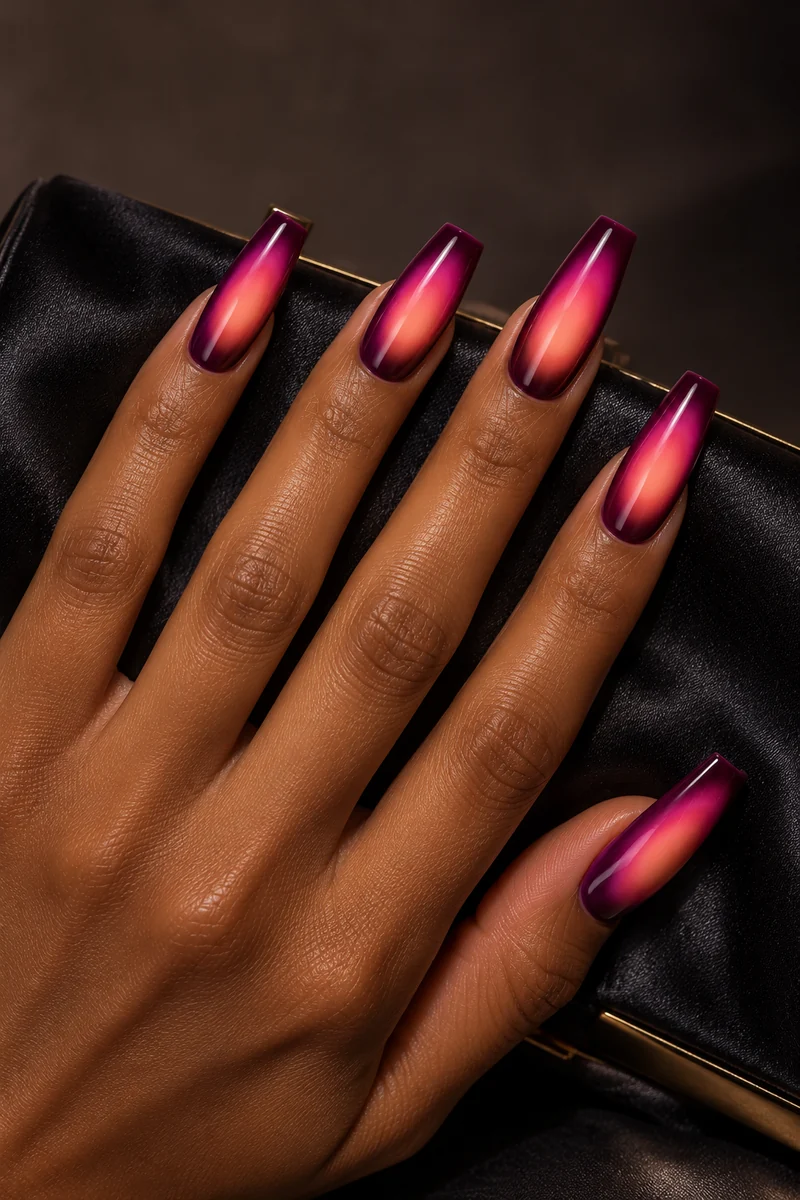
The mood. Rich plum outside, glowing apricot inside. Compared with the coral oval, this version is darker and more dramatic. The centre is stretched into an oval of light, so it feels fitted to the longer nail rather than enlarged at random.
Why this shape works. Coffin nails taper at the sides and finish with a flat end. Keep that end visible in your reference: a rounded tip would change the character of the design. The long surface gives the gradient room to develop before it reaches the edge.
Make it shorter. Use a smaller pink-peach centre and preserve the plum border. A short square interpretation can carry the same palette, even though its silhouette will look broader and less tapered.
Colour to try. Plum and apricot give depth and warmth against the medium-brown skin pictured. A violet-and-ice-blue version would be cooler. Ask to see the two colours blended, because overlapping polish can create a third colour.
07. Short, wider squoval nails with bold blue flowers
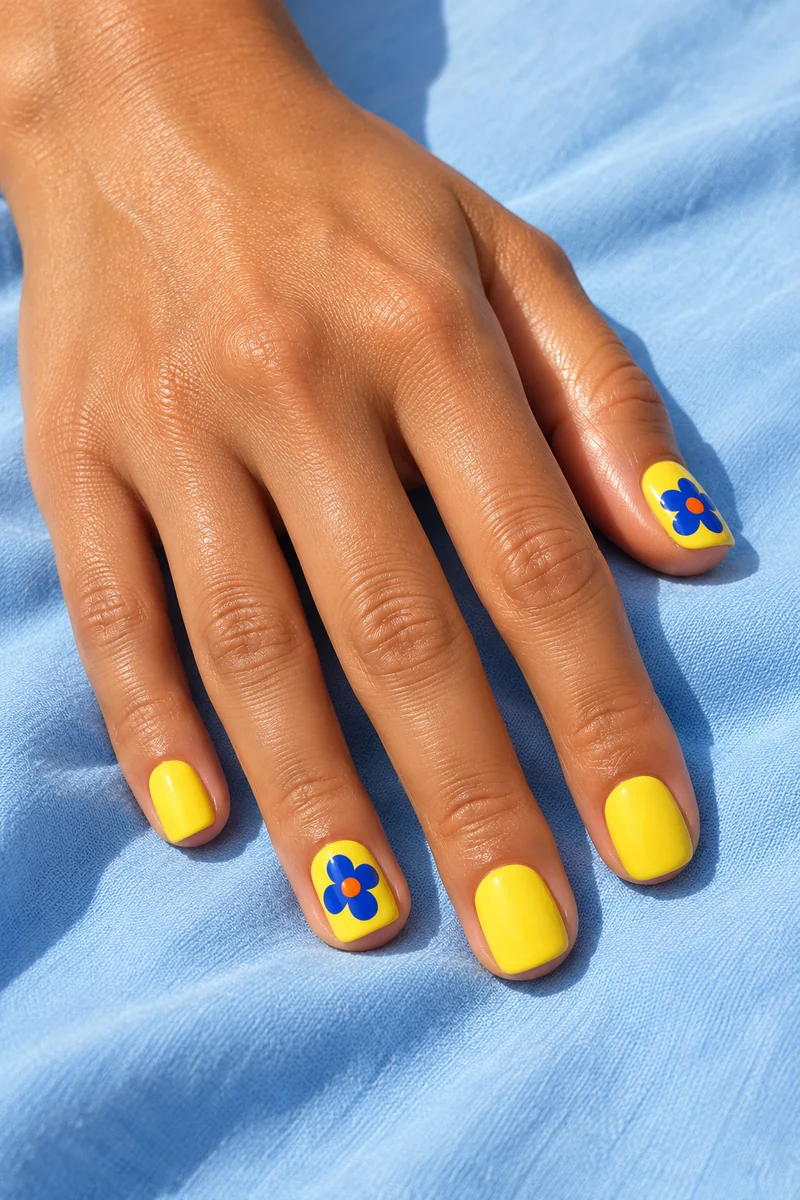
The mood. Sunshine yellow, a cobalt flower and one orange centre. This is a cheerful graphic design that you can recognise without zooming in. Two accent nails carry the flowers; the remaining yellow nails give the pattern breathing room.
Why this shape works. Nail-bed width is separate from shape: a round, square or squoval nail can also be wide. This broad squoval surface gives the petals space. Wider nails do not need to be made to look narrow before they can carry beautiful artwork.
Adjust the drawing. Place one flower slightly off centre and leave some yellow around it. On a narrower nail, reduce the number or spread of the petals; on a longer nail, extend the composition with one small leaf rather than automatically adding more flowers.
Colour to try. The yellow-blue contrast is intentionally bold. Try lilac with a deep-plum flower for a cooler mood. Ask for flat painted petals if you want this graphic finish rather than raised decoration.
08. Almond nails with tortoiseshell and a turquoise edge
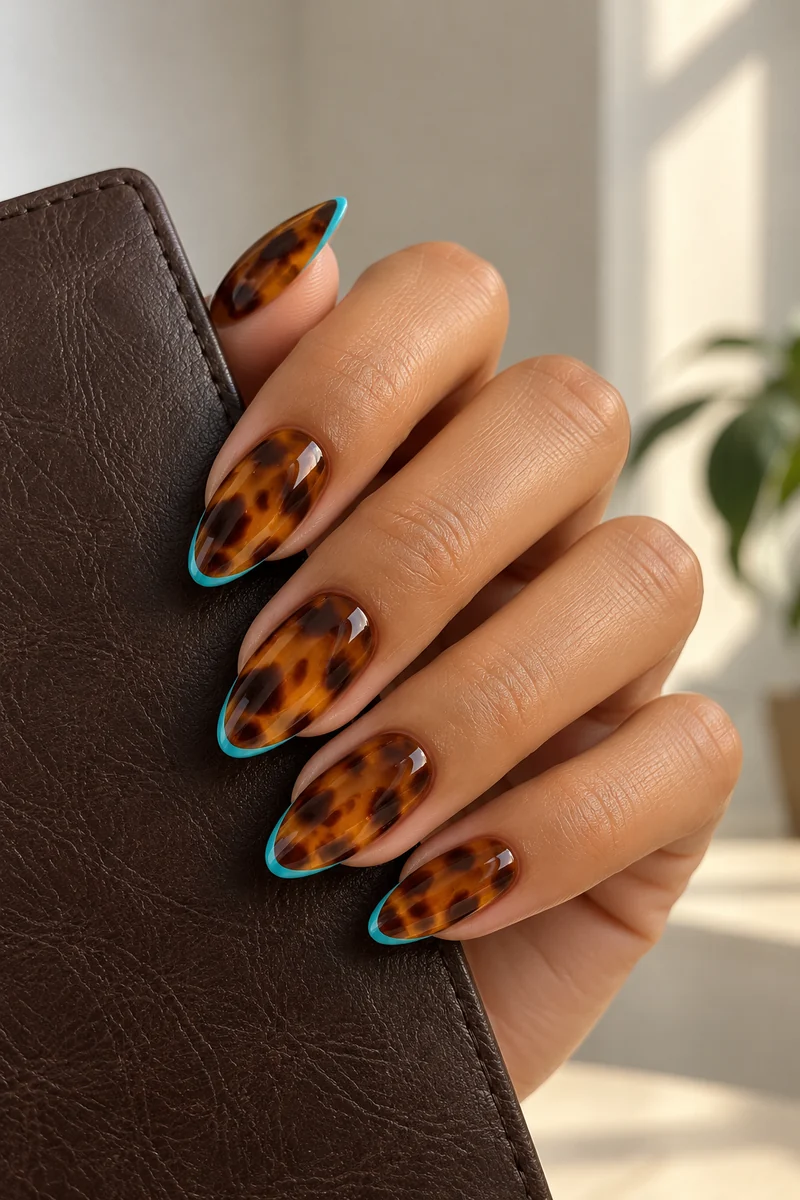
The mood. Tortoiseshell glasses, a turquoise ring, a good leather notebook. The warm amber pattern brings depth; the tiny cool edge gives it a surprising colour interruption. This is our own pairing of a familiar pattern and a coloured French tip.
Why this shape works. Almond gives the turquoise line a continuous curved path. Keep it slim enough for the amber pattern to remain the main event. A thick opaque tip would create a different, more strongly divided design.
Make it shorter. Use fewer, larger espresso patches and simplify the turquoise edge. Tiny flecks can become visual noise when the nail is small. On a longer almond, spread the patches irregularly rather than repeating a rigid grid.
Colour to try. Amber feels warm beside the light olive-looking skin in the illustration; turquoise provides contrast. A cobalt edge is another cool option. Ask for translucent amber depth, irregular dark patches and one fine coloured rim.
09. Long square nails with lilac-and-lime checks
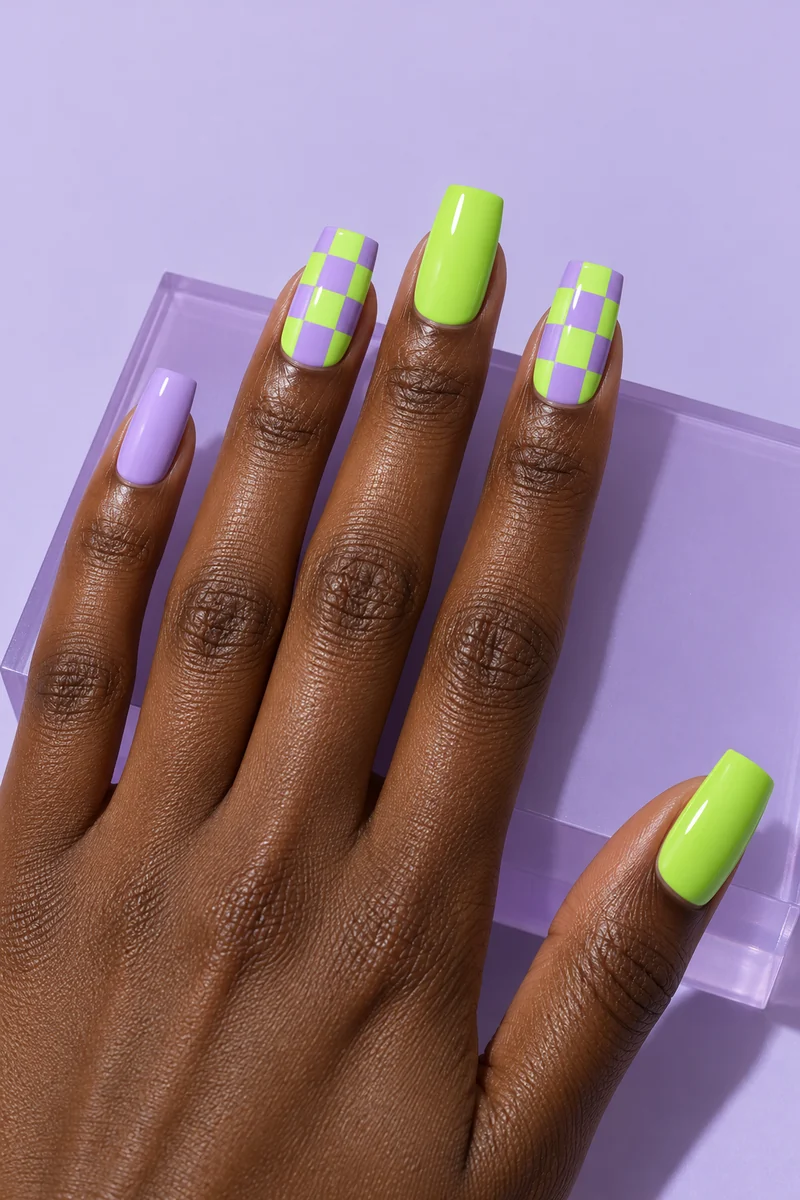
The mood. A playful colour-blocked outfit in manicure form. Lilac softens the acid lime, while the checked accent nails make the pair feel deliberately graphic. Solid-colour nails repeat the palette without making every surface equally busy.
Why this shape works. Long square nails have straighter sides than coffin nails and a broad flat tip. That gives a grid a clear rectangular canvas. A tapered shape can still wear checks, but the squares meet the sides differently.
Make it shorter. Reduce the number of rows and use larger checks rather than shrinking the whole pattern. One checked accent with the other nails in solid lilac is a compact interpretation. Keep the painted edges crisp so the two colours remain separate.
Colour to try. The light, bright pair stands out against the deep skin pictured. For a darker mood on any skin tone, use aubergine and jade. Keep the same two colours on the plain nails so the whole set feels connected.
10. Almond nails with soft-edged cobalt petals
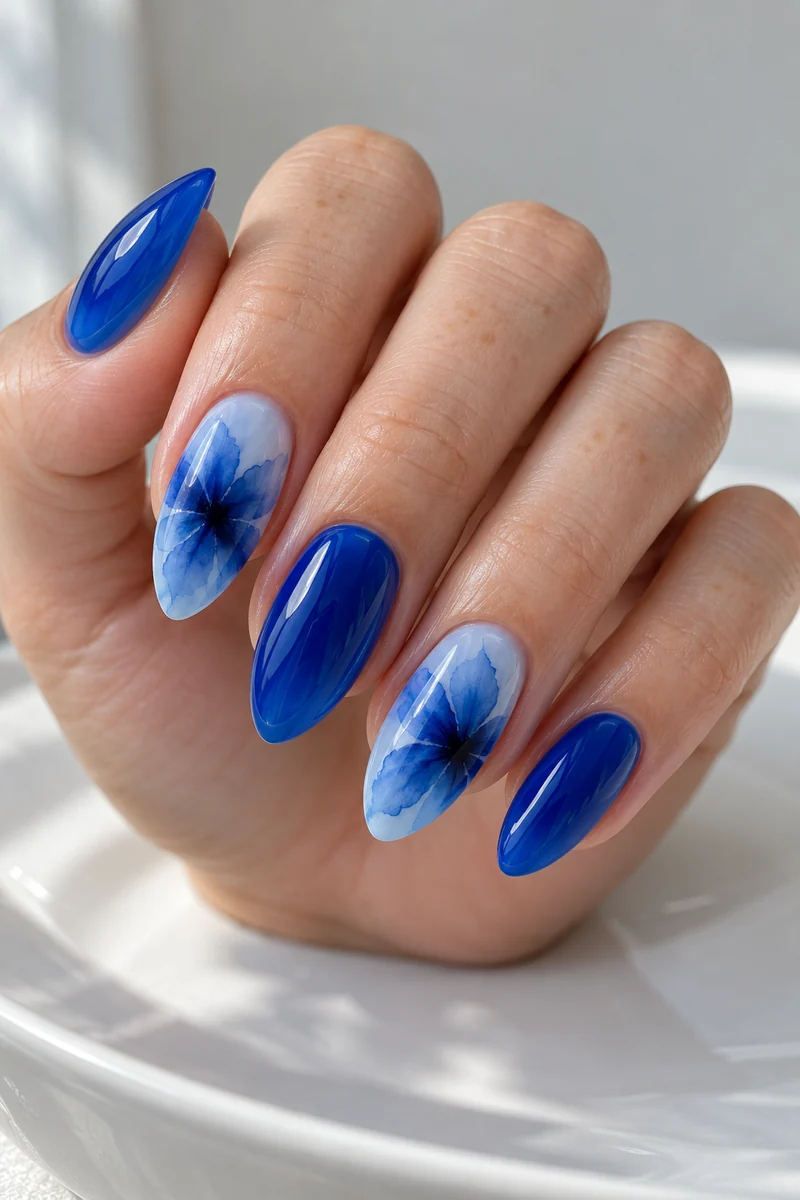
The mood. Blue ink opening in water. Blooming petals have blurred, spreading edges, unlike the crisp graphic flowers on the yellow set. The contrast between patterned accents and plain cobalt jelly keeps that difference visible.
Why this shape works. A medium almond gives a large flower room to open without needing a long canvas. Place the darkest part where you want the eye to land and let some of the pale blue base remain visible around the petals.
Make it shorter. Use one bloom per accent nail and avoid forcing a second flower into the tip. On a square nail, the bloom can sit off centre with space around one corner. Exact diffusion varies, so treat the image as a mood and placement reference.
Colour to try. Pale blue creates a cool frame against the light skin shown; saturated cobalt stops it from becoming too faint. Try raspberry on a translucent pink base for the same soft-edged idea in a warmer palette.
11. Short round nails with cherry jelly and pink dots
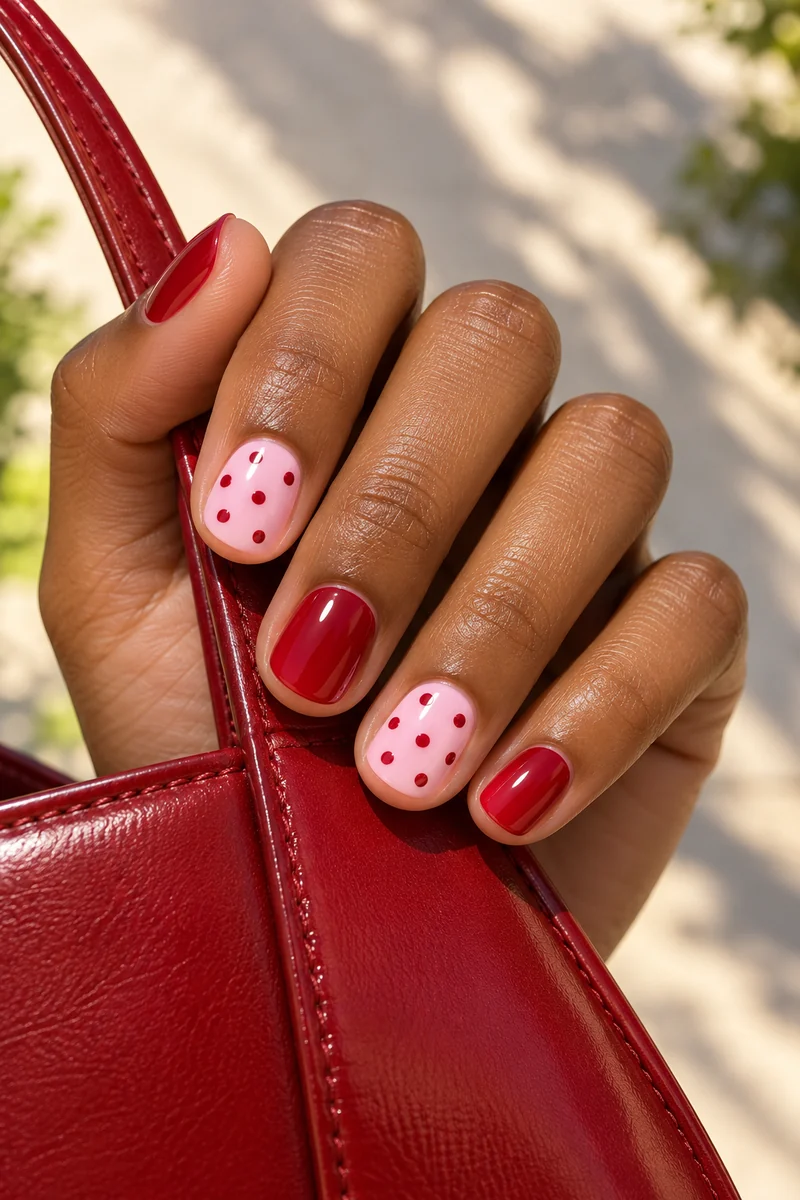
The mood. Cherry sweets and a pink ribbon, with a little retro rhythm. This set mixes finishes as well as colours: translucent cherry nails beside opaque pink accents. The dot pattern supplies detail without making the short tips crowded.
Why this shape works. Round edges sit comfortably with round dots. The important scale is the gap between the dots: keep enough pink visible for each one to read as a separate mark. You can make the same pattern sharper by moving it to short square nails.
Make it longer. Add more space before adding more dots. A longer nail can carry a deliberately sparse repeat rather than a dense print. If you want more translucency, keep the accent base sheer pink and test whether the dots still stand out.
Colour to try. Cherry and pink give a lively contrast against the medium-brown skin here. Blue-red feels cooler; tomato-red feels warmer. Ask to see the jelly finish on a swatch, since several coats can make it look more opaque.
12. Ballerina nails with ocean colour and clear droplets
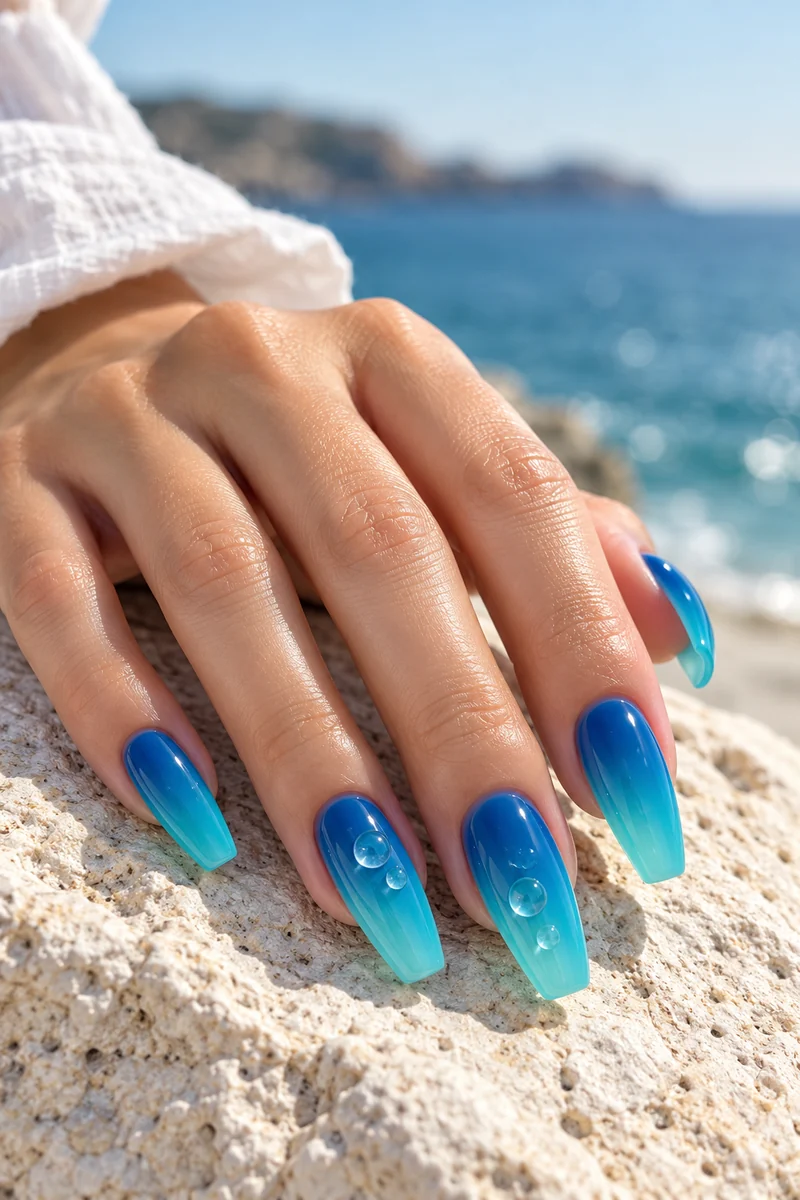
The mood. A turquoise pool with little drops of water held on the surface. The colour remains translucent; the raised clear details create separate highlights. Two accent nails are enough to establish the effect while the plain nails keep the blue visible.
Why this shape works. The long, softly tapered flat tip leaves space between the drops. Ballerina and coffin are overlapping salon terms, so show the exact outline you want rather than relying on the name alone. Here the corners look softer than the plum coffin example.
Make it shorter. Choose one small clear drop on one accent nail, or keep only the blue jelly finish. Raised details feel different from flat art; ask your nail professional about a size and placement that suit your day-to-day use.
Colour to try. Turquoise gives a fresh cool contrast against the warm fair skin shown. Emerald would feel deeper; translucent violet would feel more nocturnal. This water-drop concept is our own interpretation of dimensional nail art.
| Your canvas | Try these looks | The detail to adjust |
|---|---|---|
| Short round / squoval | Teal velvet, cherry jelly, pop flowers | Keep the highlight or motif large enough to read |
| Short square | Cobalt chrome, a simplified checker | Let the straight edge stay visible |
| Medium oval / almond | Coral aura, blooming petals, tortoiseshell | Fit the focal point inside the curved outline |
| Long square / coffin | Large checks, elongated plum aura | Use the space without filling every corner |
| Long pointed / stiletto | Silver chrome, a defined magnetic band | Decide whether shape or artwork leads |
| Wider nail beds, any outline | Bold flowers, colour blocks, broad velvet glow | Use the width; keep a clear margin around the motif |
Choose the colour relationship, not a rule for your skin
Skin depth and undertone are different things: light, medium and deep skin can each have warmer, cooler or more neutral undertones. A photograph cannot reliably diagnose yours. Use these as swatches to compare, not as colours you must or must not wear.
For warm colour harmony
Try coral, amber, copper or tomato-red beside your hand. If you like how those colours echo its warmth, repeat the effect with peach aura or amber tortoiseshell. For deliberate contrast, compare the same hand with cobalt or teal.
For cool colour harmony
Compare berry, violet, blue-red and silver. A lavender magnetic band or raspberry aura can carry that cooler mood. Warm apricot or chartreuse may give a contrast you prefer; an undertone is not a restriction.
For stronger light–dark contrast
On deeper skin, a light lilac, yellow or silver may make a bright statement; on lighter skin, plum or inky blue may provide that contrast. Rich jewel colours can look vivid across the whole range. Judge the actual polish opacity as well as its name.
If your undertone is unclear
Skip the label. Compare one warm and one cool swatch in the same finish beside your hand in daylight. Then decide whether you want a quiet colour relationship or a noticeable contrast. Repeat under indoor light before choosing a magnetic or chrome finish.
Keep the finish constant when comparing colours: coral crème and violet chrome differ in both colour and reflection. AI illustrations show styling possibilities; a real swatch is a better guide to how a polish looks beside your skin.
Your shape & colour questions
Does cat-eye nail polish work on short nails?
Yes. This guide shows a broad teal magnetic glow on short rounded nails and a defined purple band on long almond nails. Ask to compare the light pattern on a swatch in your chosen length. There is no single shape that makes cat-eye universally better.
Which designs suit wider nail beds?
A broad nail bed can carry a bold flower, larger checks or a wide velvet highlight. Width is not a flaw to correct. Choose the outline you like, then adjust the motif and the clear space around it to fit that actual surface.
What is the difference between velvet, cat-eye and chrome?
Velvet and cat-eye are names used for different magnetic light effects: a soft dispersed glow versus a more defined band. Chrome describes a reflective surface effect, which can range from a translucent sheen to the mirror-like cobalt and silver shown here. Salon naming varies, so take a visual reference.
How do I adapt a long nail design to short nails?
Keep the defining feature and simplify its layout: one bloom instead of several, fewer rows of checks, a smaller aura centre or a broader magnetic glow. Copying every tiny detail at a smaller scale can make the pattern harder to read.
Make it yours
Make a shortlist of two looks: one you would wear tomorrow and one that feels a little more adventurous. Keep the shape and length realistic for you, then compare the colour on a swatch. A good reference tells your nail professional what you love: the teal glow, the crisp blue edge, the apricot centre or the transparent drop.
- Save the whole look and a close view of its defining detail.
- Specify shape, length, colour pair and finish separately.
- Choose what to simplify if the reference is longer than your nails.
- Use your own hand and a real swatch to decide on colour; treat the AI image as a design concept.
Which look belongs in your next manicure?
Bookmark this guide and choose the detail you want to try first. For more colour and pattern ideas, continue with the edits below.
Find your next nail idea ↓